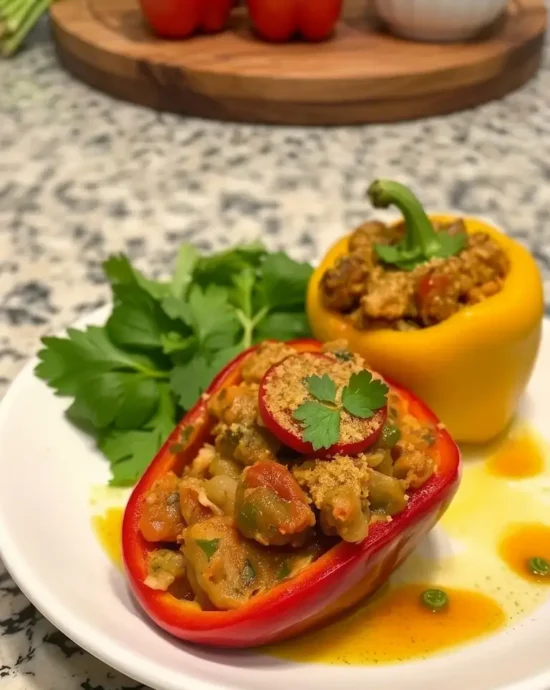
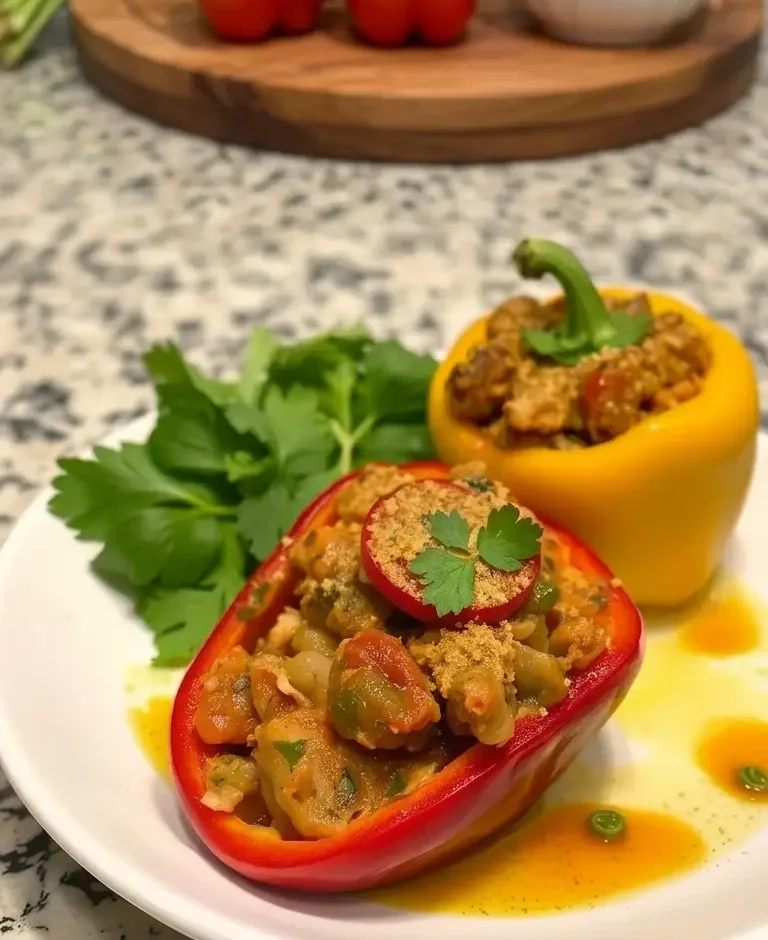
- Preheat Oven
Set the oven to 375 degrees Fahrenheit and place the rack in the center position. Give it a full 10 minutes to reach temperature before anything goes in. An underheated oven means the peppers steam rather than roast for the first part of the cook time, and you lose the slight caramelization on the pepper walls that contributes to the finished flavor.
- Prepare Peppers
Slice the tops off each pepper about half an inch down from the stem. Remove the seeds and white membrane using a small spoon, working firmly from the inside. Do not rush or you risk cracking the walls. If a pepper will not stand flat on its own, trim a paper-thin slice from the bottom, just enough to create a flat surface without cutting through to the interior. Stand them upright in the baking dish so they lean against each other slightly for mutual support.
Failure Note: Test each pepper before you fill it. If the wall feels thin or soft in any spot, that pepper will likely collapse during baking. Choose peppers with evenly thick walls. Wobbly peppers can be stabilized with crumpled foil tucked around the base inside the dish.
- Mix Filling
Combine the cooked rice, drained black beans, corn, diced tomatoes, cumin, chili powder, garlic powder, and half the shredded cheese in a large mixing bowl. Season with salt and black pepper. Mix until the spices are evenly distributed through the rice rather than sitting in pockets. The mixture should feel cohesive, not wet. If it looks loose, drain off a small amount of the tomato liquid before combining. Taste the filling now.
Failure Note: This is the step people rush. Taste the filling before it goes anywhere near a pepper. It should be boldly seasoned with the cumin and chili powder clearly present. The pepper walls will mellow everything by roughly 20 percent during baking. If the filling tastes exactly right at this stage, it will taste under-seasoned after 35 minutes in the oven. Adjust the salt and spices now. Once the peppers are stuffed and in the oven, there is nothing you can do about a bland filling.
- Stuff Peppers
Spoon the filling into each pepper using a large spoon or ice cream scoop. Pack it down firmly as you fill to eliminate air pockets. Leave about a quarter inch of space at the top for the remaining cheese. If you overfill, the cheese slides off during baking and burns on the bottom of the dish.
- Add the Cheese and Cover
Divide the remaining cheese evenly across the top of each pepper. Press it down lightly so it makes contact with the filling rather than sitting loosely on top. Cover the baking dish tightly with aluminum foil. The seal matters here. If steam escapes around the edges, the peppers on the outside of the dish will cook faster than the ones in the center.
- Bake Covered Then Uncovered
Bake covered at 375 degrees for 25 minutes. The peppers should be tender when pierced with a fork and the filling heated through. Remove the foil and bake for an additional 10 minutes until the cheese is bubbling and has golden spots across the surface. Watch the last five minutes. The difference between perfect golden cheese and burnt cheese is about three minutes, and ovens vary more than people expect.
- Rest and Serve
Remove the dish from the oven and rest the peppers for five full minutes before cutting into them. The filling needs that time to set up. Cut into one immediately and everything runs onto the plate. Wait five minutes and it holds a clean cross-section. Finish with fresh cilantro or flat-leaf parsley.
- Calories:320 kcal
- Fat:10 grams
- Protein :15 grams
- Carbohydrates:45 grams
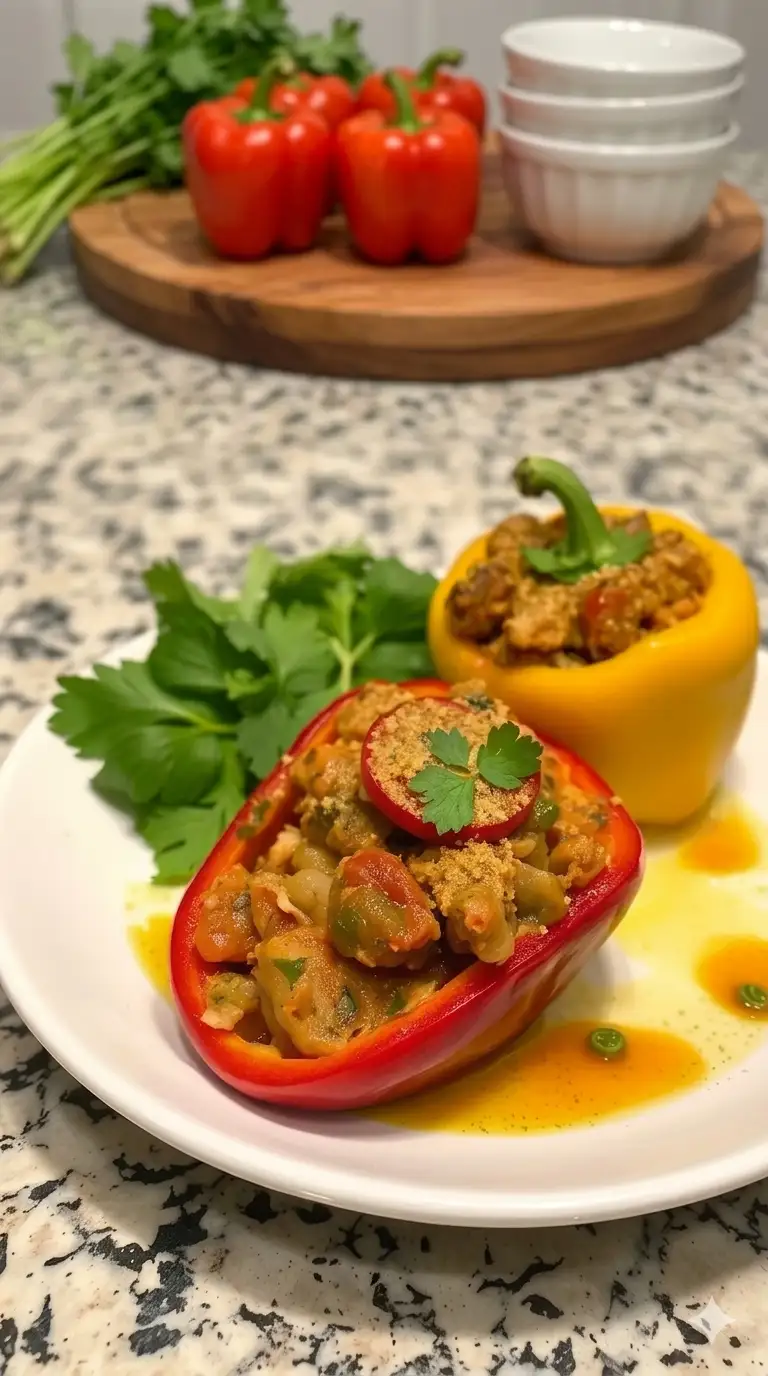
Here is the thing about vegetable stuffed peppers: the filling is not the hard part. The hard part is getting the pepper walls tender, the filling seasoned correctly, and the cheese bound into the mixture instead of sliding off a mound of loose rice the moment you cut into it. Most recipes get at least one of those three things wrong. This one does not, because each of those problems has a specific fix and none of them require extra ingredients or extra time. Just the right sequence and a couple of things to pay attention to.
This is the kind of recipe that looks more involved than it is. You are looking at 15 minutes of actual work. The oven handles the rest. If you already make the vegetable soup on this site, you will recognize the same approach of building seasoning through the process rather than correcting it at the end.
Equipment You Will Need
A 9×13 inch baking dish, deep enough for the peppers to stand upright without tipping. A large mixing bowl — do not try to combine the filling in anything smaller or you will have rice and beans on your counter before you get halfway through. A sharp knife for slicing the tops cleanly. A small spoon or ice cream scoop for removing seeds and membrane. Aluminum foil for the first phase of baking.
Why This Vegetable Stuffed Peppers Recipe Works
The problem with most stuffed pepper recipes is that the filling gets seasoned once, at the end, after everything is already combined and cold. That approach produces a dish where the spices sit on the surface of the ingredients rather than working through them. What you end up tasting is chili powder and cumin on top of bland rice and beans. Not a good use of either.
This recipe seasons in layers. The rice goes in already cooked in salted water. The spices get mixed into the warm filling, which means the cumin and chili powder bloom slightly as they hit the residual heat from the other ingredients. Half the cheese goes into the filling itself, where it melts and binds everything into a cohesive mixture. That is the step most people skip because it feels redundant when there is also cheese going on top. It is not redundant. It is what keeps the filling from collapsing into a pile the moment you cut into the pepper.
The foil cover during the first 25 minutes creates steam inside the baking dish. That steam is what softens the pepper walls evenly from the inside out without drying the tops of the filling. Remove the foil for the last 10 minutes and the exposed cheese browns while the pepper skin picks up just enough color. Skip the foil entirely and the tops dry out before the walls have time to soften. It sounds like a small thing. In the finished dish it is noticeable.
Bell peppers have a particular way of mellowing bold seasoning during baking. What reads well-seasoned in the bowl will taste measurably milder after 35 minutes at 375 degrees. This is not a guess — it is the reason you season the filling more aggressively than feels comfortable before stuffing. If it tastes exactly right in the bowl, it will taste flat on the plate.
Ingredient Notes: What Each One Does
Bell peppers: Color changes the flavor slightly. Red peppers caramelize sweeter in the oven. Green peppers stay more savory and hold their shape a little better. Yellow and orange land in between. What matters more than color is wall thickness. Look for peppers that feel heavy for their size, sit flat on their own without rocking, and have four distinct lobes rather than three. Four-lobed peppers are more stable in the baking dish and hold more filling without tipping.
Rice: Fully cooked and at room temperature before it goes into the filling. Hot rice makes the filling wet and loose. Cold refrigerator rice mixes unevenly and can create pockets that take longer to heat through. Day-old rice that has come back to room temperature is the best starting point. If you are making a stuffed peppers with quinoa variation, cooked quinoa works as a direct substitute. Add two tablespoons of vegetable broth to the filling to account for quinoa being slightly drier than rice. The result is higher in protein and has a nuttier flavor that works well with the cumin and chili powder.
Black beans: Rinse them well and let them drain for a full minute in the colander. The liquid in the can has a starchy, metallic undertone that will muddy the filling if you leave it in. After rinsing, shake the colander once or twice so the excess water clears before the beans go into the bowl.
Cumin and chili powder: These two do different things and cannot substitute for each other. Cumin adds earthiness and warmth. Chili powder adds depth and very mild heat. For a stuffed peppers keto or low-carb version, the spices stay exactly as written since they carry all the flavor and contribute zero carbohydrates. Replace the rice with riced cauliflower cooked dry in a skillet, omit the corn or swap it for diced zucchini, and use a full-fat aged cheddar for the cheese.
Cheese: Shred it from a block, not from a bag. Pre-shredded cheese has an anti-caking coating that prevents it from melting smoothly into a warm filling. It goes grainy. A block of sharp cheddar or mozzarella takes three minutes to shred yourself and melts cleanly into the mixture. The difference in how the filling holds together after baking is real and worth the extra three minutes. the flavor, the homemade comfort soups collection on this site uses the same principle of building from the base rather than seasoning at the end.
Tips for the Best Vegetarian Stuffed Peppers
Make ahead: Assemble completely, cover with foil, and refrigerate for up to 24 hours before baking. Add 8 to 10 minutes to the covered baking time since everything starts cold. Hold the final layer of cheese until just before it goes into the oven, not before refrigerating.
For stuffed peppers with quinoa: Use 1 cup of cooked quinoa in place of the rice and add 2 tablespoons of vegetable broth to the filling to compensate for quinoa being slightly drier. The result holds together well after baking and has a nuttier flavor that works well with the Mexican spice profile.
For stuffed peppers keto or low-carb: Replace the rice with riced cauliflower cooked in a dry skillet until most of the moisture has evaporated. Omit the corn or replace it with diced zucchini. Use a full-fat aged cheddar. The spices stay exactly as written.
Reheating: Cover with foil and warm at 325 degrees for 15 to 20 minutes. The foil prevents the cheese from drying out. If you have leftover filling without the pepper shells, reheat it in a skillet with a splash of vegetable broth to loosen it and serve over fresh rice or stuff it into a warm tortilla.
Freezing: Freeze assembled but unbaked peppers individually, wrapped tightly in plastic wrap and placed in a freezer bag, for up to 3 months. Bake from frozen, covered with foil, at 375 degrees for 45 minutes then uncover for 15 minutes. Do not thaw first or the pepper walls become waterlogged before they hit the oven.
FAQ
Can I make vegetarian stuffed peppers ahead of time?
Yes, and this is one of the better make-ahead dishes in this category because the filling absorbs the spices more fully overnight. Assemble them completely, cover the dish tightly with foil, and refrigerate for up to 24 hours. Do not add the top layer of cheese until you are ready to bake. Add 8 to 10 minutes to the initial covered baking time to account for the cold start. The flavor is often better on day two than on the day they are made.
How do I keep stuffed peppers from falling apart?
Three things. Choose thick-walled peppers with a flat base that stands without support. Mix half the cheese into the filling rather than only using it as a topping — the melted cheese inside acts as a binder that holds the mixture together when sliced. Rest the peppers for five full minutes after they come out of the oven before cutting. A pepper sliced immediately after baking spills. One that rests five minutes holds a clean cross-section every time.
Why does my stuffed pepper filling taste bland after baking?
Bell peppers mellow the flavors of whatever is inside them during baking. A filling that reads well-seasoned in the bowl will taste noticeably milder after 35 minutes at 375 degrees. Season the filling more aggressively than feels comfortable before stuffing. When it tastes strong in the bowl, it will be balanced on the plate. According to USDA food safety guidelines, the internal temperature of the filling should reach 165 degrees Fahrenheit to confirm it is fully heated through — a useful check if you are ever unsure.
What is the best rice for vegetable stuffed peppers?
Fully cooked long-grain white or brown rice at room temperature. Hot rice makes the filling wet. Cold refrigerator rice mixes unevenly. Day-old rice that has come back to room temperature is the ideal starting point. Cooked quinoa is a reliable substitute for more protein and a nuttier flavor — just add a small amount of broth to the filling to compensate for quinoa being drier than rice.
Can I make this recipe vegan?
Yes. Omit the cheese entirely or use a plant-based alternative that melts. Add a tablespoon of nutritional yeast to the filling for a mild cheesy depth without any dairy. Most plant-based cheeses do not brown the same way dairy cheese does during those final uncovered minutes, so do not expect the same golden top. The flavor of the filling itself is unaffected.
How long do leftovers keep?
Up to 4 days in an airtight container in the refrigerator. The pepper walls soften slightly over time but the flavor holds well and often improves as the spices continue to develop. The filling alone, separated from the pepper shell, keeps for up to 5 days and reheats well in a skillet with a small amount of broth to restore moisture.
More Recipes You Might Like
If you are building a party spread, these work well alongside stuffed peppers:
- Cranberry Pecan Cheese Ball — make it a day ahead, it only gets better
- Olive Garden Stuffed Mushrooms — same oven temperature, easy to run both at once
- Crab Stuffed Mushrooms — for a crowd that wants something more substantial
For a cross-category pairing that works well as a light meal alongside these peppers:
- Homemade Tomato Soup — the acidity cuts through the richness of the cheese filling cleanly
More Appetizers and Party Foods
→ Easy Appetizers and Party Food Ideas
Five minutes. That is all the resting time costs you, and it is the difference between a stuffed pepper that holds its shape on the plate and one that turns into spiced rice soup the moment you cut into it. Set a timer. Walk away. Come back to a pepper that serves cleanly.