- Preheat the Oven
Preheat your oven to 350°F (175°C).
- Prepare the Apples
Core the apples, making sure to leave the bottom intact. This will hold the filling inside.
- Make the Filling
In a bowl, mix together the brown sugar, chopped nuts, cinnamon, and raisins if using.
- Stuff the Apples
Fill each cored apple with the sugar mixture, packing it in gently. Place a few pieces of butter on top of each filled apple.
- Bake
Arrange the apples in a baking dish and pour water into the bottom. Bake in the preheated oven for about 25-30 minutes, or until the apples are tender and the filling is bubbly.
- Serve
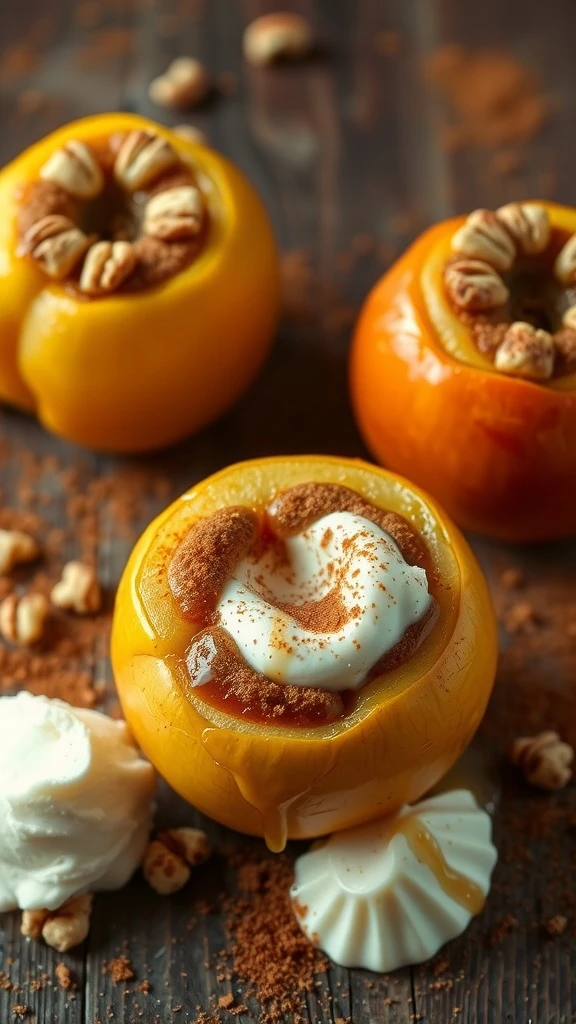
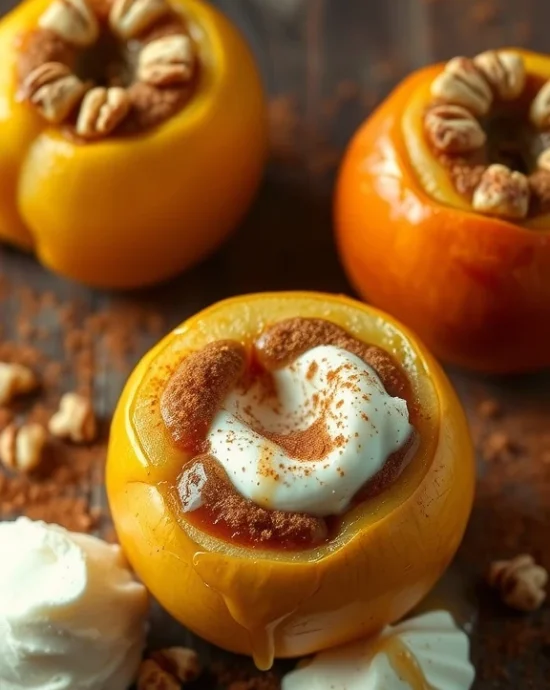
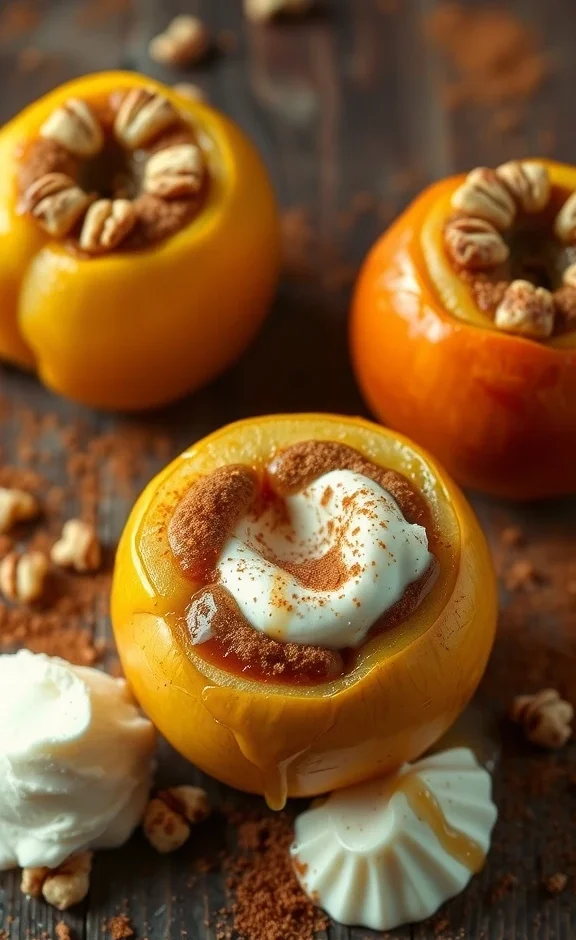
Let the baked apples cool for a few minutes before serving. Enjoy them warm with a scoop of vanilla ice cream or a dollop of whipped cream.
- Calories:180 kcals
- Fat:7 grams
- Proteins:1 grams
- Carbohydrates:30 grams
Baked apples recipe might sound like something your grandmother made when she ran out of pie filling, but trust me, this is the dessert that’ll have your dinner guests begging for seconds and your kitchen smelling like autumn heaven. We’re talking about tender apples stuffed with brown sugar, cinnamon, and nuts, then baked until they’re practically falling apart with sweet, spiced goodness.
This isn’t just another “healthy dessert” that tastes like disappointment with a side of virtue signaling. These baked apples are legitimately delicious, naturally sweet, and comforting in that deep, soul-warming way that makes you understand why people wrote poems about simple pleasures.
The best part? You probably have everything you need in your pantry right now. No specialty ingredients, no complicated techniques, just real food becoming something magical in your oven while you do literally anything else.
Why This Recipe Will Save Your Dessert Game
Let’s be honest about most dessert recipes. They’re either so complicated you need a culinary degree to understand them, or they’re so processed you feel guilty eating them. This baked apples recipe solves both problems by being ridiculously simple and made entirely from real ingredients your great-grandmother would recognize.
The secret is in the simplicity. Brown sugar caramelizes as it bakes, creating this incredible sauce that pools around the apples and soaks back into the tender fruit. The cinnamon doesn’t just add flavor, it actually enhances the natural apple sweetness while adding warmth and complexity.
But here’s what makes this version special: the texture contrast is absolutely perfect. You get tender, almost custardy apple flesh that’s been infused with sweet spices, crunchy nuts that add substance and richness, and that gorgeous caramelized coating that forms on top. Every bite gives you something different.
The aroma factor is off the charts. While these bake, your entire house transforms into a cinnamon-scented sanctuary that makes everyone suddenly appear in the kitchen asking when dinner’s ready. It’s like aromatherapy, but with actual food at the end.
Plus, you can feel slightly virtuous serving this to people. It’s fruit, nuts, and spices. Sure, there’s butter and sugar involved, but compared to most desserts, this is practically health food. And at 180 calories per serving, you can enjoy it without the dessert guilt spiral.
The Story Behind Baked Apples Recipe
Baked apples have been warming hearts and homes since colonial America, when cooks needed ways to preserve the apple harvest and create satisfying desserts without fancy ingredients. This wasn’t just dessert, it was practical nutrition wrapped in comfort food packaging.
Early American settlers brought apple seeds and saplings from Europe, and by the 1600s, orchards were flourishing across New England. Apples became essential for survival, not just fresh eating but for cider, vinegar, and long-lasting baked preparations that could feed families through harsh winters.
The traditional method involved cooking apples in the coals of cooking fires, stuffed with whatever sweeteners and spices families could afford. Maple syrup, molasses, honey, and precious cinnamon transformed simple apples into celebration-worthy desserts that made even the humblest meal feel special.
I learned the true power of baked apples during a particularly disastrous dinner party attempt in my early twenties. Picture this: ambitious menu, timing completely wrong, main course burning, and guests arriving in thirty minutes. In desperation, I cored some apples, stuffed them with whatever looked sweet in my pantry, and threw them in the oven.
Those baked apples saved the entire evening. While I frantically tried to salvage the rest of dinner, the kitchen filled with this incredible cinnamon-apple aroma that made everyone instantly relaxed and happy. By the time I served them, warm and tender with vanilla ice cream melting alongside, no one remembered the slightly burnt chicken or the overcooked vegetables.
That’s when I understood the magic of baked apples. They’re not just dessert, they’re mood magic. They transform ordinary ingredients into something that feels like home, like celebration, like everything’s going to be okay. The slow baking process allows the flavors to develop and concentrate while filling your space with comfort.
Different regions developed their own variations. New England cooks added cranberries and walnuts, Southern versions included pecans and sometimes a splash of bourbon, while Midwest families often used oats and brown butter. Each family recipe became a treasured tradition passed down through generations.
Essential Equipment & Kitchen Tips
Your apple corer is the most important tool for this recipe, though a sharp paring knife works if that’s what you have. The goal is removing the core while leaving the bottom intact so your filling doesn’t leak out during baking. Think of it like creating an edible bowl inside each apple.
A melon baller or small spoon helps hollow out any remaining core pieces and seeds. You want to remove enough flesh to create space for filling, but leave enough structure so the apple holds its shape during baking.
The baking dish matters more than you might think. Use something just large enough to hold your apples without overcrowding, but not so large that the liquid spreads thin and evaporates. A 9×9 inch square dish usually works perfectly for four apples.
Depth is important too. You need sides high enough to contain the bubbling juices that develop during baking. These juices become part of the magic, creating a natural caramel sauce that pools around the apples.
An instant-read thermometer takes the guesswork out of doneness. The apples are perfect when they reach about 200°F internally and yield easily to a knife tip. Undercooked apples are firm and tart, overcooked ones turn to mush.
Parchment paper or foil can save cleanup, but don’t cover the apples during baking. You want the tops to caramelize and develop color. The exposed surfaces create texture contrast with the tender interior.
Pro Chef Secrets & Advanced Techniques
Here’s what most recipes won’t tell you: apple selection completely determines your success or failure. Honeycrisp, Granny Smith, or Braeburn hold their shape and have enough acidity to balance the sweetness. Avoid Red Delicious, Gala, or anything that gets mushy when cooked.
The coring technique is crucial. Use a sharp paring knife to cut about 3/4 of the way down, leaving at least half an inch of bottom intact. Remove the core in a cone shape, slightly wider at the top. This creates more space for filling while maintaining structural integrity.
Pack that filling firmly but not aggressively. You want it compact enough to stay put during baking, but not so tight that it prevents the apple from cooking evenly. The filling should be slightly mounded above the apple opening.
The butter placement is strategic. Don’t just dump it on top. Place small pieces directly on the filling so they melt and penetrate downward, basting the filling and creating richness throughout. Cold butter works better than soft because it melts slowly and evenly.
Water depth in the baking dish should be about 1/4 inch. Too little and the bottom burns, too much and you’re essentially steaming instead of baking. The water creates gentle steam that helps cook the apples evenly while preventing the bottom from scorching.
Temperature consistency matters. If your oven runs hot, drop to 325°F and extend cooking time. You want gentle, even heat that cooks the apples through without burning the sugar. The filling should bubble and caramelize, not turn dark and bitter.
Common Mistakes to Avoid
Using the wrong apple variety because you grabbed whatever looked good at the store. Soft apples turn to applesauce, bland apples stay bland even with all that sugar and spice. Invest in good apples and your dessert will thank you.
Coring too aggressively and creating apple cups with paper-thin walls. The walls need thickness to support the filling and maintain structure during baking. If you accidentally go too far, that apple becomes applesauce territory.
Skipping the water in the baking dish. That water creates steam, prevents burning, and helps the apples cook evenly. Without it, you’ll get burnt bottoms and raw tops, which is nobody’s idea of a good time.
Overpacking the filling like you’re stuffing a Thanksgiving turkey. Gentle packing allows heat circulation and prevents the apples from bursting. Nobody wants apple explosion cleanup duty.
Opening the oven door every five minutes to check on progress. Each door opening releases heat and extends cooking time. Trust the process and only check when you actually need to test for doneness.
Serving them immediately from the oven. They’re molten hot inside and will literally burn your tongue. Five minutes of cooling makes them perfect temperature for eating and allows the juices to settle slightly.
Using margarine instead of butter. Just don’t. Life’s too short for fake butter in your desserts, and the flavor difference is huge.
Alternatives & Substitutions
If brown sugar isn’t your thing, coconut sugar, maple sugar, or even honey work beautifully. Each brings different flavor notes. Coconut sugar adds subtle caramel undertones, maple sugar brings woodsy complexity, and honey creates floral sweetness that plays beautifully with cinnamon.
Nut allergies don’t have to end your baked apple dreams. Toasted oats, granola, or even crushed gingersnap cookies create texture and interest. Sunflower seeds work too, though the flavor profile changes significantly.
Cinnamon alternatives include cardamom, allspice, or Chinese five-spice for more exotic flavor profiles. Cardamom particularly shines with apples, adding floral complexity that feels sophisticated and unexpected.
For the liquid component, apple juice, apple cider, or even white wine instead of water creates more complex flavors. The alcohol cooks off, leaving behind depth and richness that plain water can’t provide.
Dried fruit options beyond raisins include chopped dates, cranberries, or dried cherries. Each brings different sweetness levels and flavor notes. Dates add caramel richness, cranberries provide tartness, and dried cherries bring subtle wine-like complexity.
Butter substitutes for dairy-free folks include coconut oil or vegan butter. Coconut oil adds tropical notes that work surprisingly well with apples and cinnamon. Make sure it’s solid when you add it for proper melting behavior.
Flavor Variations & Creative Twists
My favorite fall variation adds a splash of bourbon or rum to the filling mixture. The alcohol cooks off, leaving behind warm, complex flavors that make this taste like grown-up comfort food. Just a tablespoon transforms the entire dish.
The caramel apple version involves drizzling store-bought caramel sauce over the apples before baking. It caramelizes further in the oven, creating this incredible sticky coating that’s basically apple dessert perfection.
For holiday entertaining, try the cranberry-orange version. Add dried cranberries and orange zest to your filling mixture, then serve with orange-scented whipped cream. It looks festive and tastes like fall celebration in dessert form.
Chocolate lovers should definitely try adding mini chocolate chips to the filling. They melt slightly during baking, creating pockets of chocolatey goodness throughout. Not traditional, but absolutely delicious.
The tropical twist uses coconut flakes and chopped macadamia nuts instead of traditional nuts. Serve with coconut ice cream for full tropical vibes that somehow work perfectly with baked apples.
Serving Suggestions & Pairings
Vanilla ice cream is classic for good reason, but don’t stop there. Cinnamon ice cream amplifies the spice notes, while salted caramel ice cream adds complexity that plays beautifully with the apple sweetness. The temperature contrast between hot apples and cold cream is absolutely perfect.
Whipped cream options are endless. Plain whipped cream is lovely, but try adding a touch of maple syrup, vanilla extract, or even a splash of rum. Fresh whipped cream takes thirty seconds to make and tastes infinitely better than the canned stuff.
For elegant presentations, serve in individual ramekins or small bowls. Drizzle any pan juices around the plate, add a sprig of fresh mint for color, and dust with powdered sugar. Suddenly your simple baked apple looks restaurant worthy.
Wine pairing thoughts: Dessert wines like Moscato or late-harvest Riesling complement the apple sweetness beautifully. If you prefer regular wine, try a light Pinot Noir or even a sparkling wine for celebration vibes.
Coffee pairings matter too. Rich, dark roasts complement the sweet spices, while lighter roasts might get overwhelmed. French press or espresso work particularly well with the caramelized sugar flavors.
Storage & Reheating Guide
These baked apples are actually fantastic the next day, often better as the flavors continue to develop. Store covered in the refrigerator for up to four days. The texture changes slightly as they cool, becoming more jammy and concentrated in flavor.
For reheating, gentle oven warming at 300°F for about 10 minutes brings back that just-baked texture better than the microwave. Cover with foil to prevent drying out, and remove the foil for the last few minutes to re-crisp any caramelized surfaces.
Microwave reheating works in a pinch, but use 50% power and heat in 30-second intervals. The sugar can get incredibly hot and create dangerous hot spots that will burn your mouth.
Individual storage in small containers makes them perfect for grab-and-go breakfast or snacks. Yes, baked apples for breakfast is totally acceptable adult behavior, especially when you add yogurt or granola.
Freezing works for up to three months, though the texture becomes softer and more jammy. Thaw overnight in the refrigerator and reheat gently. They’re actually quite good eaten cold straight from the fridge as a healthy snack.
Nutritional Benefits & Health Notes
Apples are nutritional powerhouses disguised as simple fruit. They’re loaded with fiber, particularly pectin, which helps regulate blood sugar and supports digestive health. The old saying “an apple a day keeps the doctor away” isn’t just folklore.
The cinnamon isn’t just for flavor. Studies suggest cinnamon may help regulate blood sugar levels and has anti-inflammatory properties. Plus, it’s loaded with antioxidants that support overall health while making everything taste amazing.
Nuts provide healthy fats, protein, and various minerals depending on which variety you choose. Walnuts offer omega-3 fatty acids, almonds provide vitamin E, and pecans contribute zinc and magnesium. The protein helps stabilize blood sugar response from the natural fruit sugars.
Brown sugar, while still sugar, retains some molasses which provides tiny amounts of minerals like calcium and iron that white sugar lacks. It’s not health food, but it’s less processed than white sugar.
The fiber content helps slow sugar absorption, preventing the blood sugar spikes you might get from other desserts. The combination of fiber, healthy fats from nuts, and natural fruit sugars creates more sustained energy than refined desserts.
FAQ (Frequently Asked Questions)
What’s the best apple variety for baking? Honeycrisp, Granny Smith, and Braeburn are top choices because they hold their shape and have good flavor balance. Avoid Red Delicious or any variety that gets mushy when cooked.
Can I make these ahead of time? You can core and stuff the apples several hours ahead, cover, and refrigerate until baking time. Don’t add the butter until right before baking to prevent it from melting prematurely.
How do I know when they’re done? The apples should yield easily to a knife tip and reach about 200°F internally. The filling should be bubbly and caramelized on top. Timing varies with apple size and variety.
Can I use frozen apples? Fresh apples work much better. Frozen apples release too much liquid and don’t hold their shape well during baking. If you must use frozen, thaw and drain them first.
What if I don’t have an apple corer? A sharp paring knife works fine. Cut about 3/4 of the way down in a cone shape, leaving the bottom intact. Use a small spoon to scoop out any remaining core pieces.
Can I double the recipe? Absolutely! Use a larger baking dish or two smaller ones. Make sure apples aren’t overcrowded and adjust liquid accordingly. Cooking time may increase slightly.
Why do my apples split during baking? Usually from overpacking the filling or using apples that are too ripe. Pack filling gently and choose firm, fresh apples for best results.
Can I make these sugar-free? Try sugar substitutes like stevia, monk fruit, or sugar-free brown sugar alternatives. The texture and caramelization will be different, but still delicious.
How do I prevent the filling from falling out? Make sure to leave enough apple bottom intact when coring, and don’t pack the filling too tightly. A small piece of apple flesh can act as a “plug” if needed.
Can I add alcohol to the recipe? A tablespoon of bourbon, rum, or brandy in the filling adds wonderful flavor. The alcohol cooks off during baking, leaving behind complex taste notes.
Troubleshooting Guide
My apples turned to mush during baking. You either used a variety that doesn’t hold up to heat or overcooked them. Stick to firm baking apples like Honeycrisp or Granny Smith, and start checking doneness at 20 minutes instead of waiting the full time.
The filling bubbled over and made a mess. This happens when apples are overstuffed or the sugar content is too high. Pack filling more gently next time, and place a sheet pan under your baking dish to catch any overflow.
My apples didn’t cook evenly. Size differences cause uneven cooking. Try to choose apples that are similar in size, or adjust individual cooking times by removing smaller ones earlier.
The bottoms burned while the tops stayed pale. Your oven runs hot or you didn’t use enough water in the pan. Lower the temperature to 325°F and make sure there’s about 1/4 inch of water in the bottom of the dish.
The filling didn’t caramelize properly. Not enough brown sugar, too much liquid, or insufficient oven heat. Make sure your filling has adequate sugar content and avoid adding extra liquid beyond what’s specified.
My apples collapsed during baking. The walls were too thin when you cored them, or they were overripe to begin with. Leave more flesh when coring, and choose firm, fresh apples that can maintain structure under heat.
Everything tastes bland despite following the recipe. Cheap cinnamon loses potency quickly. Invest in fresh, quality cinnamon, and don’t be afraid to taste your filling mixture before stuffing the apples.
Final Thoughts
This baked apples recipe represents everything beautiful about simple cooking. Real ingredients, straightforward technique, and results that taste like somebody’s grandmother spent all day in the kitchen just for you. The magic isn’t in complexity, it’s in understanding how basic ingredients transform under gentle heat.
What makes this dessert special is its honesty. No artificial flavors, no mysterious ingredients, no techniques that require culinary school. Just apples, sugar, spices, and time creating something that tastes like home and comfort and autumn afternoons.
The beauty of mastering this recipe is how easily it adapts to your mood, your pantry, and your guests. Feeling fancy? Add bourbon and serve with expensive vanilla ice cream. Keeping it casual? Enjoy them warm from the oven with a glass of milk. Either way, you’re creating memories along with dessert.
Don’t overthink this one. Choose good apples, mix your filling with care, and let your oven work its magic. The reward is dessert that satisfies without guilt, impresses without stress, and fills your home with the kind of aroma that makes everyone feel welcomed and loved.
Now go impress someone (or yourself) with your new culinary skills.